

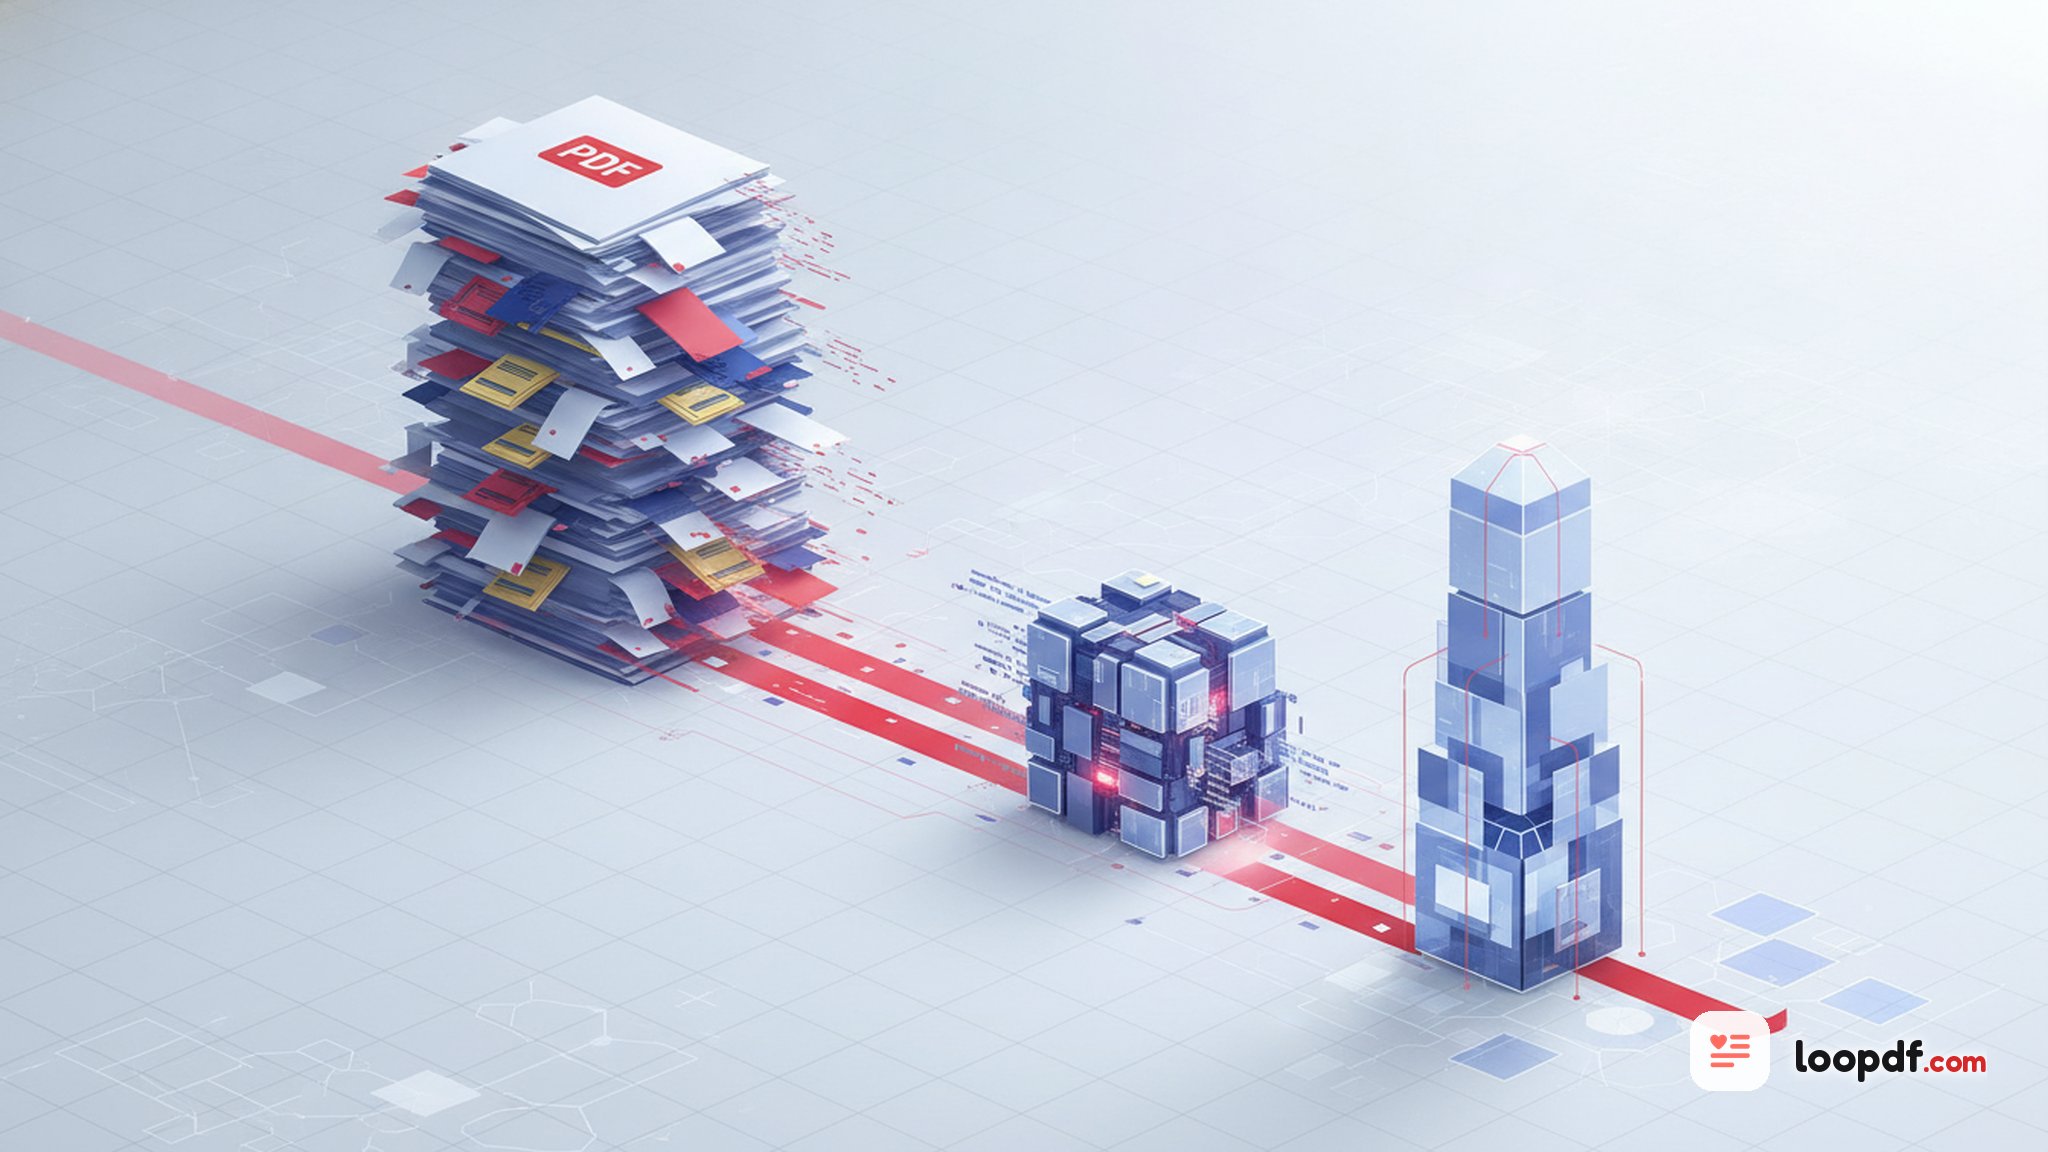
To reduce a PDF's file size, compress it with a preset that matches what is inside the document: Low for print-ready artwork, Medium for reports and email, High when the size limit matters more than image sharpness. Compression works by downsampling and re-encoding images, so a photo-heavy PDF can drop by two thirds while a text-only file barely moves. If compression alone is not enough, the real fix is usually splitting the document, deleting pages you never needed, or re-handling a scan.
Content Table
Find out why your PDF is large
Before you compress anything, work out where the weight is. The answer changes which fix will work, and it is usually one of four things.
- Photos and screenshots: the most common cause. Each image is stored at full resolution regardless of how small it appears on the page. A single phone photo dropped into a document can add several megabytes on its own.
- A scan: every page is one large image, even though it looks like text. Scanned files are often the largest documents people deal with.
- Embedded fonts and vector artwork: logos, charts and full font families add weight that image compression cannot touch.
- Structural bloat: revision history, unused objects and duplicated resources left behind by the program that made the file.
The distinction that matters most is images versus everything else. Compression presets act on images. If your document is mostly text, tables and vector charts, no preset will shrink it much, and you need one of the structural fixes further down.
Which compression level keeps text and images sharp
Each preset controls how aggressively images are downsampled and re-encoded. Text is never affected by the preset you choose, which is why a text-heavy file looks identical at every setting.
The choice is a trade-off between image detail and file size. Low keeps the most image detail of the three levels, so it is the one for print-ready files and portfolios. Medium resamples images to 150 DPI, which still prints acceptably and looks clean on any screen. High drops to 96 DPI, roughly screen resolution, so photos stay readable but lose fine detail and will not survive printing.
What each level does to your images is listed under How far each level can shrink PDF size on the Compress PDF tool page.
When compression barely helps
Sometimes you compress and almost nothing happens. That is informative rather than a failure, and it points you at a different tool.
- The file is already optimized. PDFs exported by modern software are often compressed on the way out. When there is nothing left to remove, you get the original file back unchanged.
- It is text and vectors. No images means no downsampling, so presets have nothing to work on. Try structural optimization instead, which strips unused objects and duplicated resources rather than touching images.
- The document is simply long. A 400-page manual is large because it has 400 pages. Splitting it into sections sends a reader the twenty pages they asked for instead of the whole book.
- It carries pages nobody needs. Blank scanner pages, duplicated appendices and stray cover sheets are pure weight. Removing them costs nothing in quality, or pull out just the pages you need into a fresh file.
Deleting pages is the one approach with no quality trade-off at all, which is why it is worth trying before you reach for a harsher preset.
Scanned documents need a different approach
A scan is a stack of photographs of paper. A ten-page contract scanned at 300 DPI in colour can easily reach 20 to 30 MB, and the usual advice to "just compress it" fights the way the file was built.
- Scan at 150 to 200 DPI for ordinary documents. 300 DPI is a printing standard, not a reading one, and it roughly quadruples the data of a 150 DPI scan.
- Scan in grayscale unless colour carries meaning. Signatures, stamps and printed text rarely need it.
- Run OCR on the scan so the words become selectable text. You also stop needing high resolution to keep the document readable, because the text layer carries the meaning.
- If the scan is already made, High compression handles it well, since image-only PDFs are exactly what downsampling was designed for. Expect softer text at 96 DPI.
Getting under a specific size limit
Most people are not chasing a smaller file in the abstract. They have hit a wall and need to get under it.
| Where you are stuck | Typical ceiling | What usually gets you under it |
|---|---|---|
| Gmail attachment | 25 MB | Medium preset, then High if needed |
| Outlook attachment | 20 MB | Medium preset, or split by section |
| Job portal or web form | 5 to 10 MB | High preset, plus deleting unused pages |
| Print shop upload | Varies, often generous | Low preset only, never High |
When a PDF is too large to email even after High compression, stop compressing. Split it, or put the file in cloud storage and send a link. Squeezing a 60 MB portfolio under 25 MB will destroy the images that were the point of sending it.
Try the levels on your own PDF
Upload the PDF, pick Low, Medium or High, and download the smallest version the tool can produce. Nothing is stored after the file is sent back to you.
Reduce your PDF size →
Frequently asked questions
Either the file was already optimized when it was created, or it contains no images to downsample. Compression presets act on images, so a text and vector document has almost nothing to give. Structural optimization or splitting the file are the alternatives worth trying.
Low if the file is going to print, Medium for anything viewed on screen. Low leaves images at their original resolution and only re-encodes them at JPEG quality 80. Medium resamples to 150 DPI, which still looks clean on a display but is where a photographer would start to notice the difference.
The preset was too aggressive for the content. High resamples images down to 96 DPI and re-encodes at JPEG quality 52, which is fine for reading on a screen and visibly soft in print. Go back to your original file and try Medium, because compressing the already-compressed version again will only make it worse.
No. Compression changes how the data inside is stored, not the page dimensions, text position or layout. The document opens looking the same, just with images stored at a lower resolution. Resizing is a separate operation that changes the actual page dimensions.
Rescan at 150 to 200 DPI in grayscale if you still have the paper, since that fixes the problem at the source. If you only have the file, run OCR to add a searchable text layer and then apply High compression. Scans are image-only documents, so they respond better to downsampling than any other kind of PDF.
It depends on the level. Text prints as sharp as before, because no preset touches it. Images are what change: High resamples them to 96 DPI, which looks soft on paper, and Medium to 150 DPI, which prints acceptably. For anything going to a printer, use Low.
No. Downsampling throws away pixels, and they cannot be rebuilt from the compressed file. Compression gives you a new file and leaves the one on your device untouched, so the original is your undo. Keep it, and go back to it whenever you need a different level.